Ski touring tips: How to fit and trim your skins
Skins are a remarkable piece of ski equipment, as old as skiing itself. The name “skins” actually originates from the original climbing skins made from the hide of a fawn, the bristly hairs of a young deer having the optimum blend of grip when ascending snowy slopes and glide for traversing over long, flat distances.

Not much has changed in the last few hundreds of years with touring skins. Synthetic materials such as nylon have made them cheaper and more durable, with the tradeoff of increased weight and volume and decreased glide. Glues have become more resilient with some brands doing away with it all together in favour of selective adhesives, making transitions faster and easier.
Cutting skins may seem a little intimidating if it’s your first time. Having just spent upwards of $150 to $200, one certainly doesn’t want to start making incisions into these strips of immaculate carpet willy-nilly. You can always pay your friendly backcountry ski tech to do it, but if you plan on a long career with ski touring, it’s time to learn how to do it yourself.

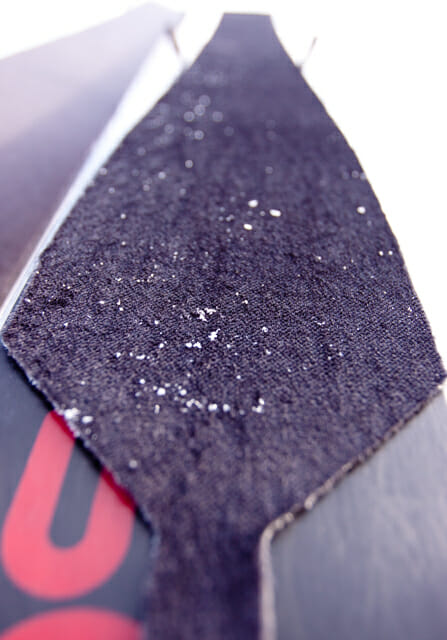
Let’s start with which skin to buy. Depending on your intended use and budget you can choose from several different brands with the most common being G3 and Black Diamond. If you want the lightest, most packable and best grip-to-glide ratio, choose a pure mohair (natural goats hair) or a nylon-mohair blend. Synthetics are great for short haul trips up steep terrain and will last much longer. The width of the skin is important, though with the enormous shovels on fat skis, having the entire base of the ski covered isn’t essential. As long as your skin is are around 20-30mm wider than the waist (underfoot) of the ski, you should have ample coverage.

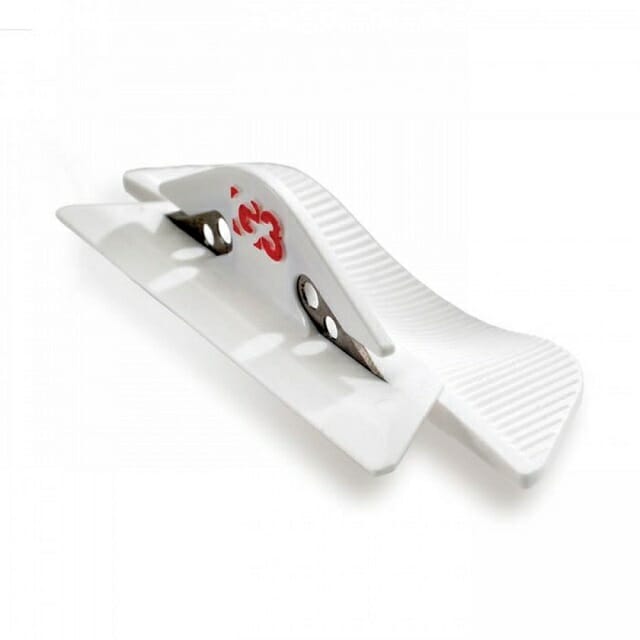
Now to the blade. Most new skins comes with a fresh cutter in the box, but the only skin cutter to bother with is the G3 Trimming Tool. Backcountry shops will usually have a bucket of these sitting around and it’s worth the extra few dollars just for the headaches it will save from using a regular razor blade tool. The beauty of the G3 cutter is that it has a built in offset that trims the perfect amount of skin to leave the required 2mm of edge exposed.

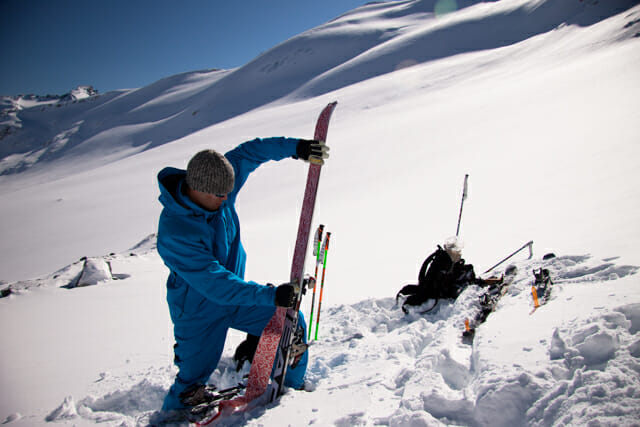
Once you’ve removed the backing film and exposed the sticky side of the skin, carefully apply it to the ski making sure it is centred along the longitudinal axis of the ski. This is the most important part of the process, as cutting before centering skins properly will leave them lopsided. When ready to cut, keep the tool pressed against the sidewall of the ski and slowly drag it down the side of the ski. If there’s no workbench around it may be worth having someone hold the ski still for you. Try to make one clean cut and don’t get impatient. Rushing will only lead to burs and fraying of the skin. And don’t forget to use a sharp blade! A rusty, blunt cutter will leave your new skins tatty. Finally, any loose fibres from the cut can be burned with a lighter to prevent fraying.
Now patiently wait for the snow to fall so you can try out your new skins.
https://www.youtube.com/watch?v=mreB8i3JuSg


