Taking photos on a heliski trip – Some Pointers
Taking media footage while skiing has never been easier. Smart phones, compact cameras and the ubiquity of GoPro units means there’s pretty much always someone capturing the moment. When on a heliski or cat skiing trip, sometimes there’s even a dedicated photographer with you on every run to make sure you get your chance to look good in front of the camera. But when flying smaller helis (like the five-seater A-Stars we run here at Last Frontier), often there’s only room for the pilot, guide and the guests. That means all the photos you bring home will be the ones captured by you and your friends. In order to give you the best chance of bringing home the banger shots, here’s some pointers on taking photos on a heliski trip.
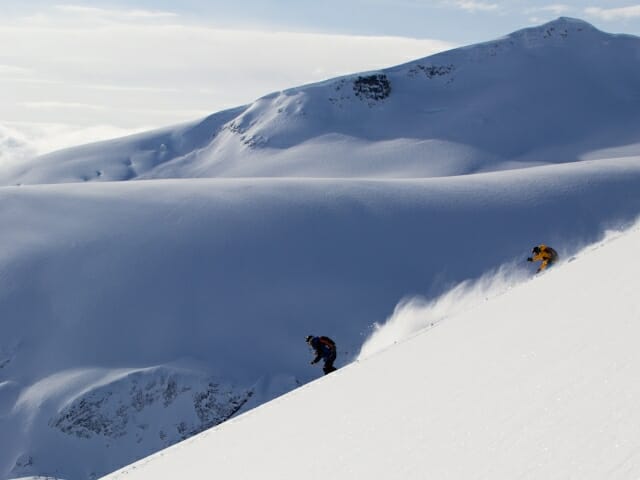
Accessibility is Key
While it’s common to reach for your phone first, remember these electronic devices can interfere with avalanche transceiver signals. So keep it in your pants pocket or somewhere at least 30cm from your beacon. Compact cameras are easy to retrieve out of jacket pockets and have the added feature of a zoom lens. If you want to bring a larger camera such as a mirror-less or digital SLR, it’s worth investing in a chest-mounted top loader camera bag. These let you whip out the camera at a moment’s notice when you’ve disembarked from the heli or when stopping half way down the slope.
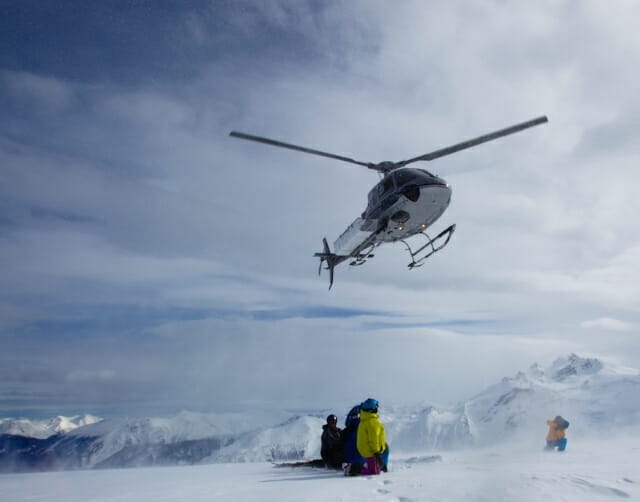
Plan Ahead
One thing to remember with heliskiing – time is critical. Each day program must run like a swiss clock. Delays between pickups can lead to certain groups not skiing as much as they’d desire each day. Taking photos is important, but skiing is ‘importantner’. In short, don’t expect the guide, the pilot or the guests to wait for hours while you review your camera settings and set up the shot.
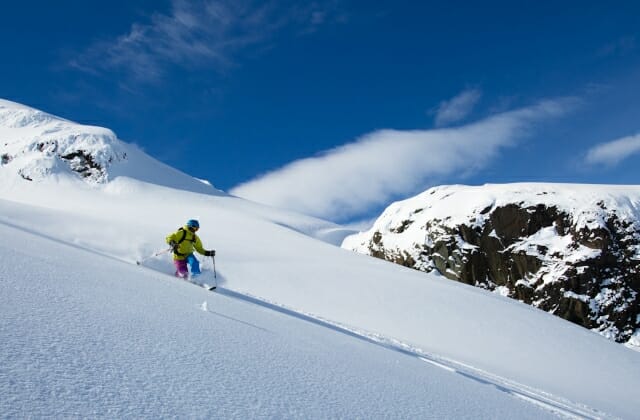
Try to think ahead and have your gear ready. If you want to shoot the heli taking off, be last in the heli so you can be first out and have time to get your camera ready. If you want to shoot other skiers, communicate that to the guide and they’ll do their best to accommodate you by letting you ski down first after them.
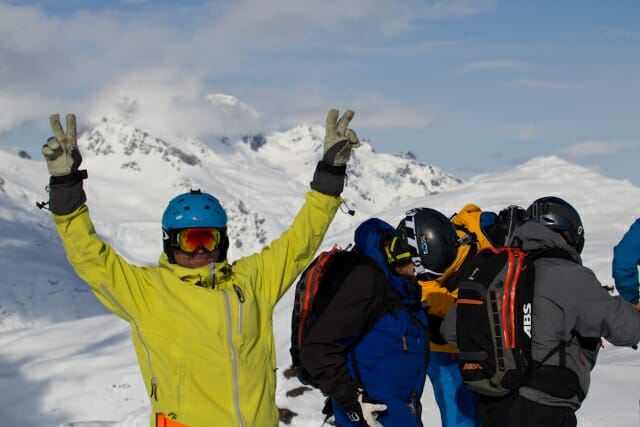
When Possible, Choose the Right Group
Remember the guide’s job is to provide the best, and safest ski experience for the guests in their group. For some, that may mean skiing non-stop all-day. For others, it may mean taking it easier, pacing themselves and enjoying the scenery on the way down. Photographers will often work better with the latter, as setting up shots or waiting for camera to be put away isn’t adding any additional delays.
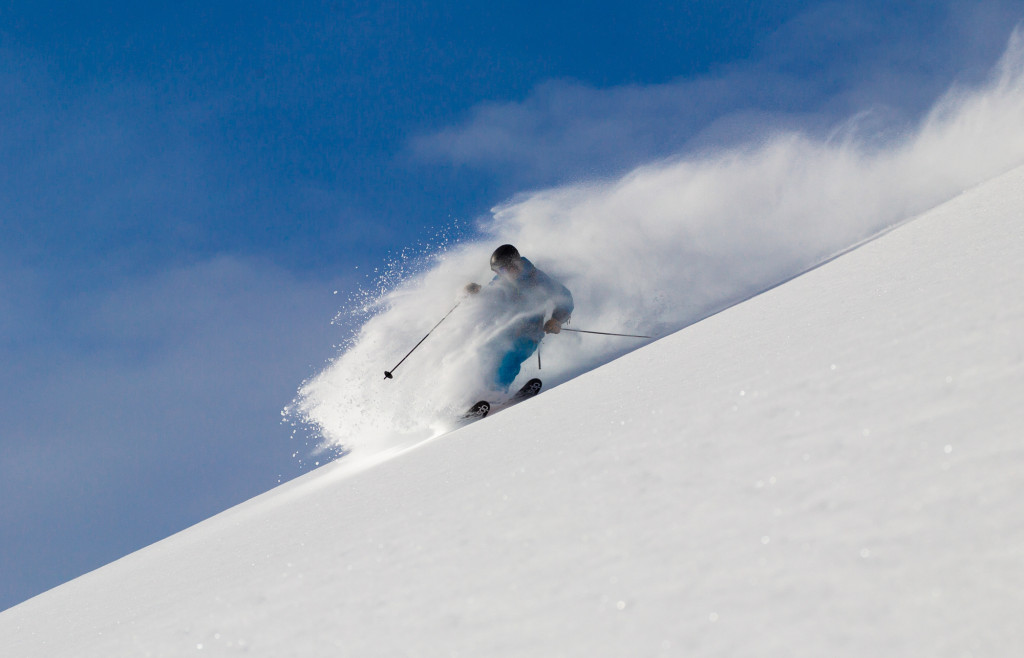
When the light gets flat, shoot in the trees
When clouds creep into the alpine and block the sunlight, it can become difficult to get any decent photo. Focus on skiing instead. That’s what you’re here for anyways. Those memories won’t fade away, while a photo won’t do the justice of your experience. If anything, flat light is great for taking photos in the trees, as they give a nice contrast to an otherwise very white background.
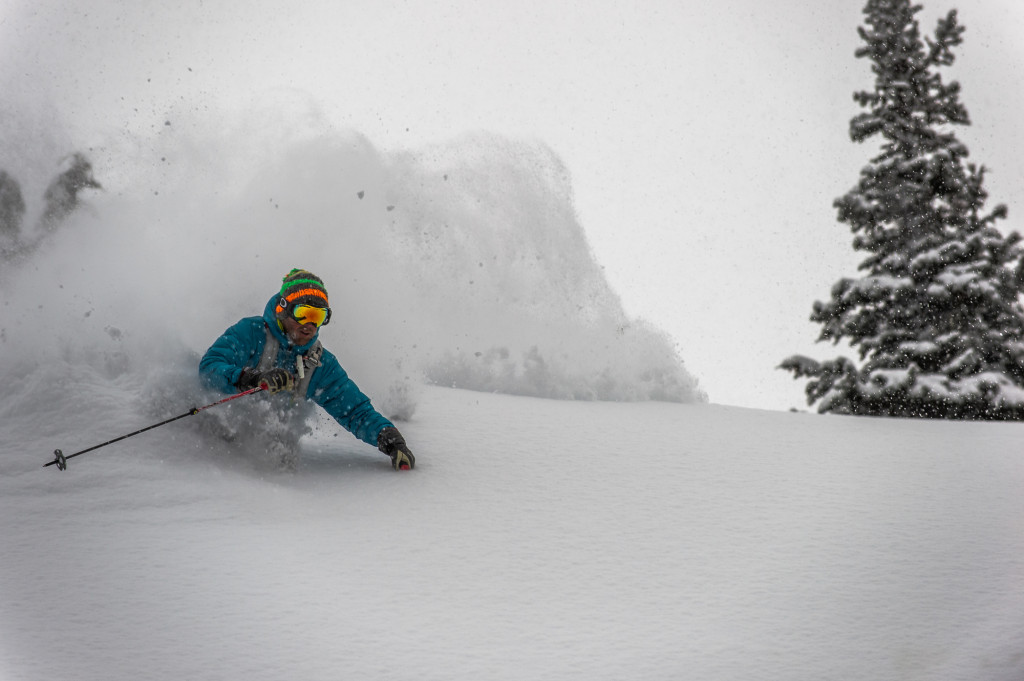
Whether you’re looking for a few shots to take home with you, or to get a timeless photo blown up to poster size for your den, remember to talk first with your guide about your desires, and you’ll have the best chance to get what you’re looking for.


