Layering 101 for Skiing and Snowboarding
It’s that time of year that requires layers – lots of layers. But nobody wants to be so bulked up in layers that their arms are stuck sticking straight out from their sides – and nobody wants to look like a “fat guy in a little coat” – Tommy Boy circa 1995. To fend off these layering woes, we have put together a layering guide for your viewing pleasure – so no matter if you are skiing on a balmy spring day or trekking out in a frigid winter blizzard, you will be covered – literally.
Base Layers – Weights – The main goal of the base layer is to move moisture and perspiration away from your skin (the drier you stay, the warmer you will be in the long run). Base layers come in several weights – lightweight, midweight and heavyweight. An example of weights for Icebreaker are as follows – Lightweight = 150, Midweight = 200, Heavyweight = 260). Lightweight layers always serve as the first layers, or the one that sits directly on our skin. These tops (or bottoms) are usually more form fitting and should be comfortable on your body. Midweight fabrics are a bit heavier than lightweight fabrics and can be worn as either a second layer or it can be worn atop the skin – while skipping the lightweight layer altogether. This weight is most suitable for colder conditions and can be worn between a lightweight and heavyweight layer for added insulation and warmth. Heavyweight fabrics are meant for very cold conditions and are usually more loose-fitting than the midweight and lightweight layers.
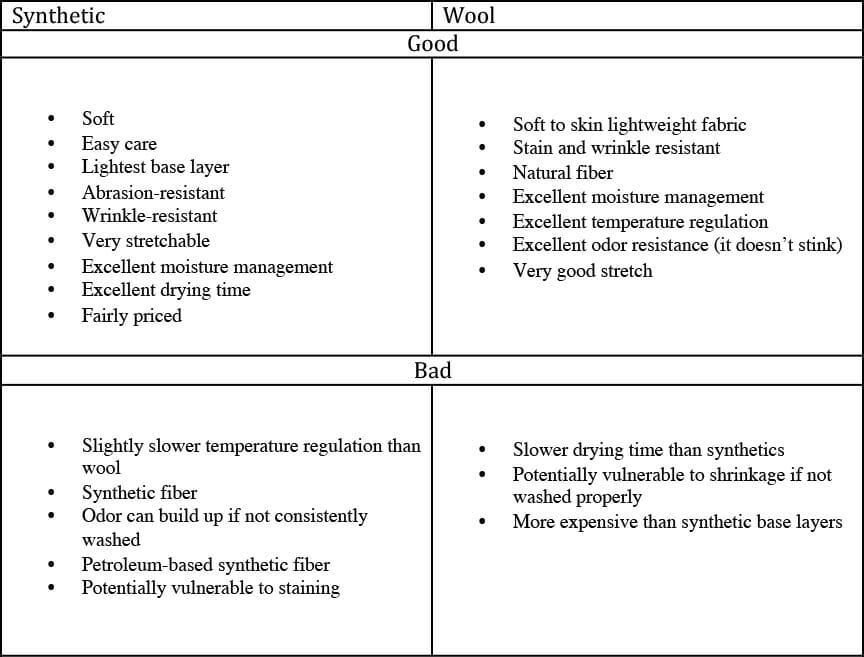
Base Layers – Types – There are base layers for your top half as well as your lower half of your body. On very cold days, many people opt for long-sleeve lightweight, midweight and heavyweight tops, but on warmer days, a short-sleeve lightweight top with a long sleeve midweight layer may be all you need underneath your ski coat (or pants). Pant types and lengths (cropped, full length, or one-piece) are all personal preference, but the full length or one-piece option in a heavyweight fabric would be the warmest. Fabric choices are also something to think about when purchasing base layers. Check out the chart below for the good and the bad of both choices.
Mid Layers – No matter the temperature outside, mid layers are perfect for added warmth and comfort during the winter season. Worn on top of your base tops and bottoms, mid layers are usually filled with down or a down alternative. This “puffy” layer is very handy in vest and jacket form and can be worn as a top layer on a warm spring day. Throwing on a puffy coat over the top of your three base layers and underneath a waterproof shell is the prime choice for those cold, winter storm days.
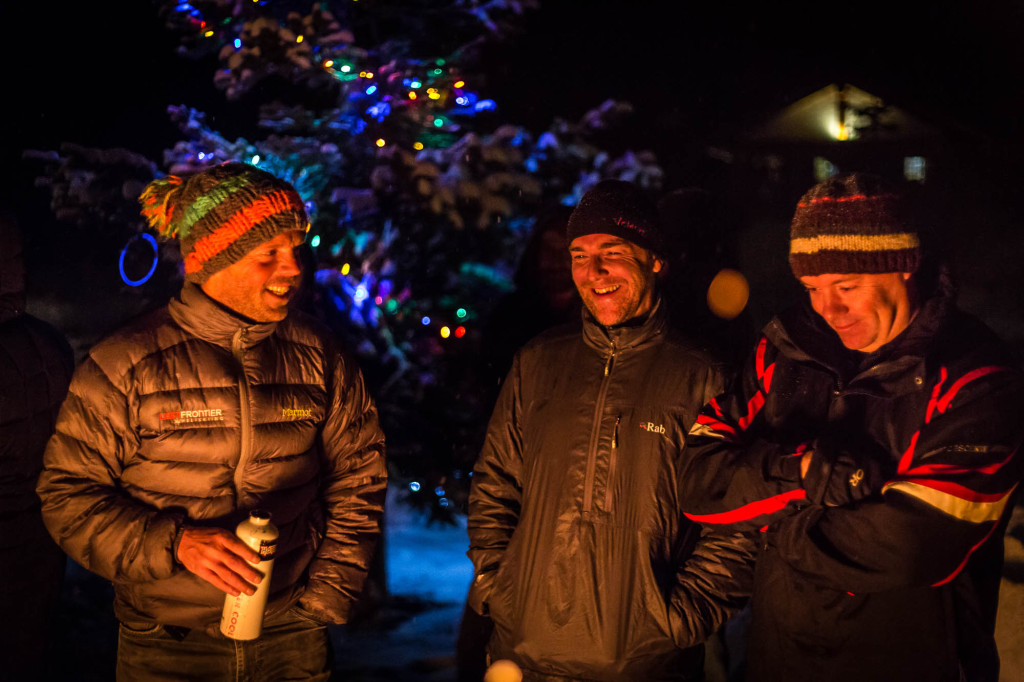
Top Layer – Once you have all of your base and mid layers figured out, now all that you need is a good, reliable top layer. Top layer pants and jackets can be purchased as shells or with a little bit of added insulation built into them. A downside to purchasing insulated top layers is that they can be a bit bulky when adding extra layers beneath them, so keep them in mind when you are on the prowl for your new gear. For more information on how to choose the warmest and driest top layers, check out my article on the best waterproof and breathable fabrics on the market.
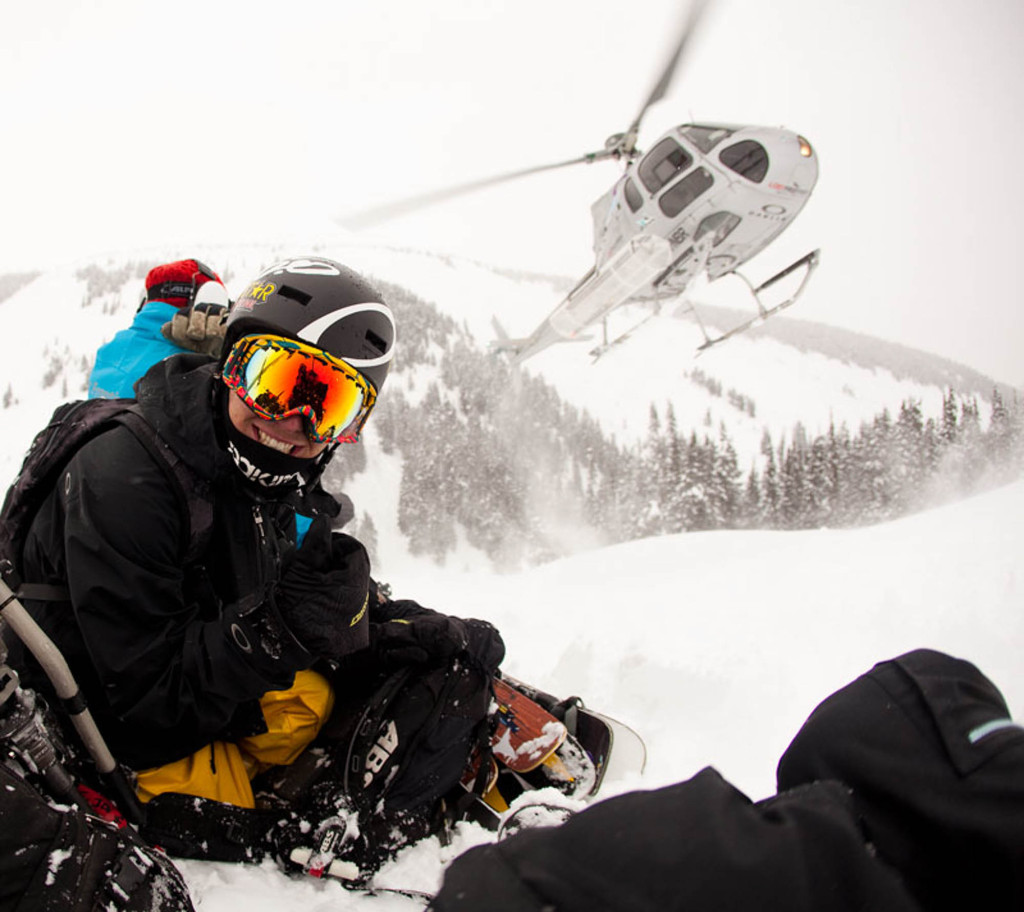
As the winter storms start to roll in and frosty mornings begin to take over, spend some time getting your ideal layering system dialed for the ski and snowboard season ahead – because it’s hard to have fun when you are freezing cold (as well as if you are having hot flashes due to being too warm). And if your best friend shows up looking like the Stay Puft Marshmallow Man from Ghostbusters or Chris Farley in Tommy Boy, be a pal and give him the scoop on layering 101 – he will thank you forever.
